I love these group/class mural projects and this is the first one we've been able to squeeze in this year. I found this one on Kathy Barbro's "Art Projects for Kids" blog just in time for Earth day.
Working on the Op art or optical art movement of the 1960's, my beginning art students chose their own optical art to create the illusion of space and movement on a flat piece of paper using color pencils.
To finish up the printmaking unit, my advanced art students completed a basic relief printmaking technique by making two stamps out of SoftKut. For the first 2x3" stamp or eraser carving the students had to draw flowers and make two prints to turn in. The second, 4x6" stamp had the subject of fish with more background details added as the stamp was twice the size.
These quick and easy slab containers are made by using 1/4" slabs (rolled the day before the project), a circle template, basic ceramic tools including a needle tool but paper clips would work. Students cut out their circle shape place the bottom of a small paper cup in the center for a guideline then add radial designs. Once all designs have been added, students simply pick up their clay and drape it upside down over the paper cup and leave to dry overnight. The next day, all paper cups can be removed and the containers turned right side up to dry the rest of the way. Once fired, these were glazed and refired.
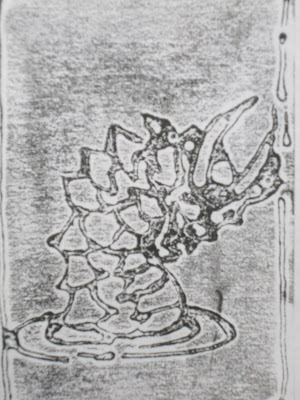
A quick and easy introduction to the process of collographs is to have the students complete glue prints, like a relief. All you need is some scrap cardboard, white glue in bottles with a fine tip, printing ink and a few brayers. Once the sketches were done, we transferred the image to the cardboard and the students "drew" their image again with glue and left to dry over night. I set up four different printing stations in the classroom and had the students complete a print on white paper and another on colored paper. Spectacular dragons were the results!
These flower tissue paper collages, completed by my beginning art classes, turned out so great. As always the students had to complete sketches of the flowers before they could choose their final flower to draw big on their final 12x18" paper. Using tissue paper and watered down white glue, the students adhered the "color" to their paper.
My advanced art students were introduced to the idea of drawing in perspective, specifically one point perspective. After introducing the idea of basic squares in perspective, we introduced other geometric shapes and how to make cut outs into the boxes both on the center and edges. These are a few of the many successful finished drawings.
My beginning art students worked on shading from dark to light evenly with a pencil which is a harder task than it seems. After lots of practice, an introduction to a value scale and sketches of fish, my students were ready to draw their final fish, add lines dividing the paper into shapes and to begin shading in each of those shapes from dark to light evenly.